

Showing posts with label Tutorial. Show all posts
Showing posts with label Tutorial. Show all posts
Thursday, June 7, 2012
Make your own Rose colored Skinny jeans!!
Sunday, August 22, 2010
How to Tea Stain.....

I found this great article on tea staining. i have never tried it before! i have a ton of white fabric that I'm going to tea stain for my shabby chic bedroom. you can find the directions HERE!!!
Wednesday, August 11, 2010
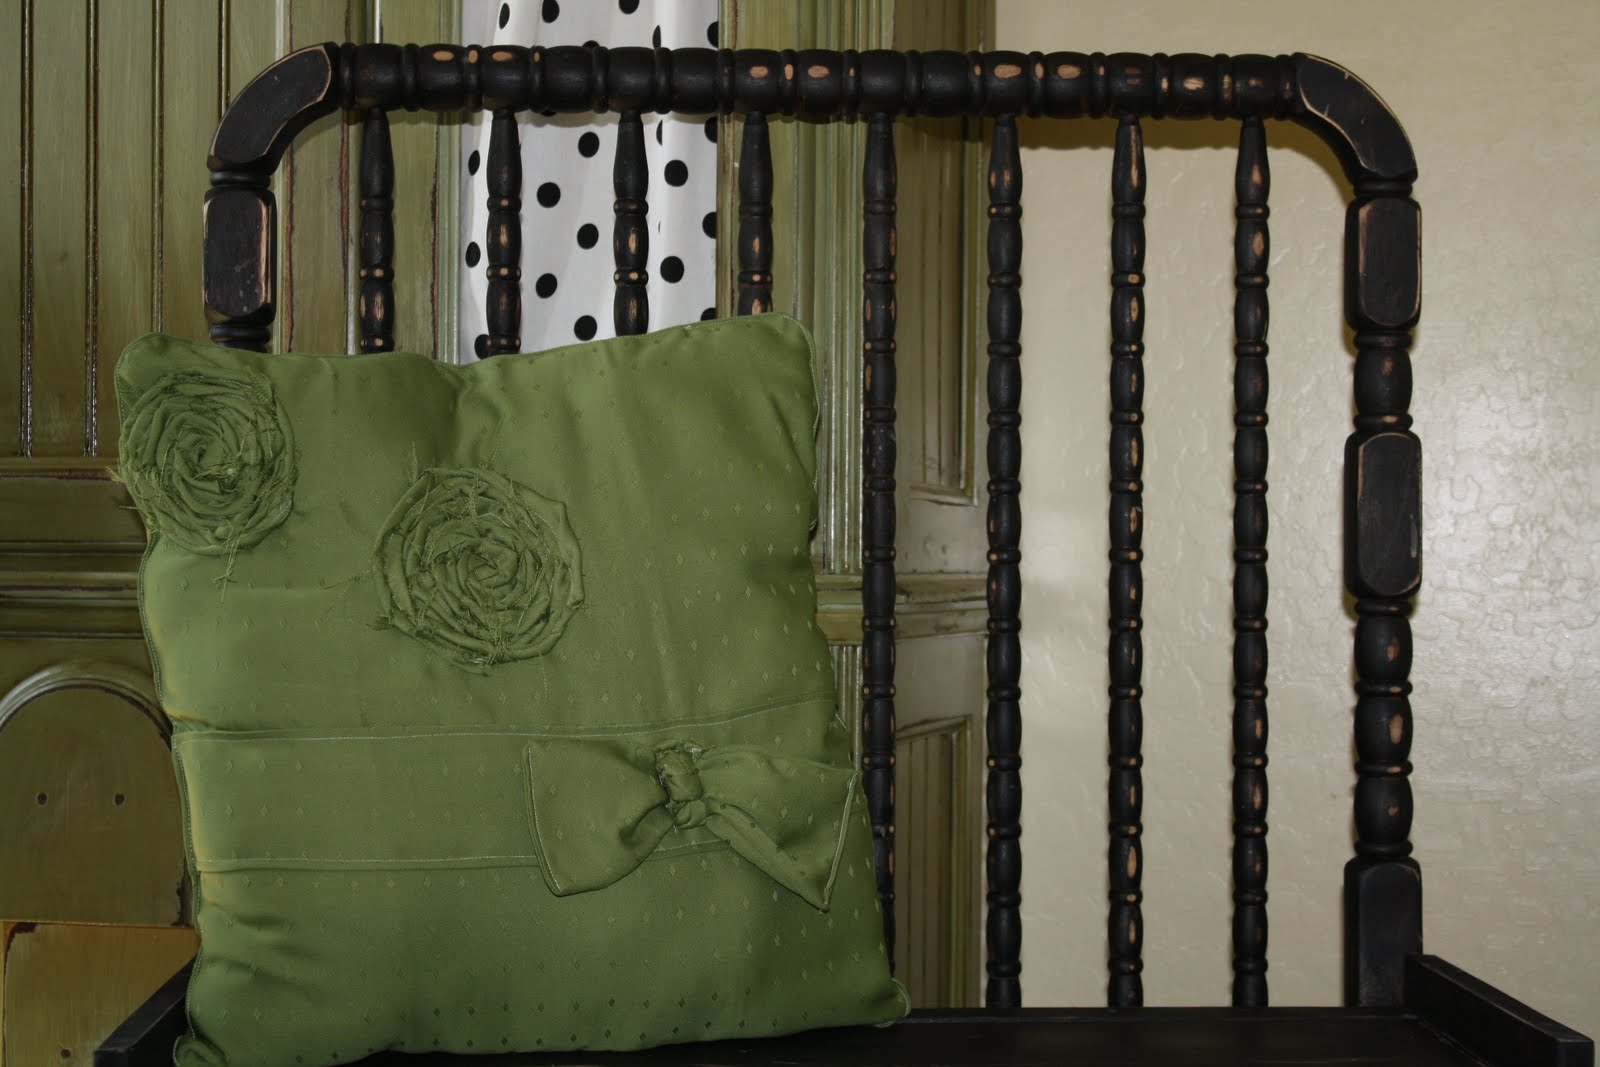
Crib Bench. TUtorial

So here is my breif tutorial on how i made my Crib Bench!!!

I love the idea to make a crib bench because you can make two matching ones to decorate from the heads of the crib, OR if you have two kids that used the same crib, you can make them each there own. OR you can even cut the second head in half and use it for the arms!

I cut 2 by 4 and made a box like this~!

Screwed my box on about 19 " high, i think that is the perfect height for the seat of a bench, then i got some scrap MDF. i cut it a little higher and about 1/2" longer on the sides because im going to add some bead board and i want it to fit in between them.

I nailed on the top slats, added my bead board to cover the exposed 2 by 4, and then added a slat at the bottom so i can put a basket or something on it, and it also makes it alot stronger.
Im not the best at giving tutorials, but i hope you can use this....I would love for you send me pictures of your finished projects.
Friday, July 9, 2010
mongram bow holder!

Sunday, June 20, 2010
CHA eP rings!

Alright People i have crowned myself the queen of Cheap and i have found Another Cha Ep idea. Come on over to the the creative crate and find out how she makes these rings out of Buttons! LOVE THEM!
Monday, May 31, 2010
Satin Flower tuTorial!

STEP 1: i layered the satin 3 times. Used a bowl that was about 5 1/2 inches and cut around it to make 3 circles!

there is 4 circles in this picture, but you only need 3

STEP 2: cut slits around circle

STEP 3 : cut off tips of each petal. FYI none of this has to be perfect because when you burn it you wont even tell!

STEP 4: now you are going to burn each petal. you will want to curve it like a petal and burn arount the edge. I used a lighter, but you could also use a candle.

this is what it will look like when they are all burned. if it catches fire, you can snip it off and burn it again. i liked the way they looked burnt so i kept it!

STEP 5 : take a piece of tulle the width of your flower. Tie it in a knot, take a second peice of tulle and then tie it in a knot around the first knotted piece, to make it look like this!

STEP 6 : Hot glue it to your petal!
IMPORTANT!!!!!!!
REPEAT STEPS 4 & 5 to make it look like the picture below. Also for this step i tied a third peice of tulle to make it even fuller!

STEP 6: Cut 4 petal apart from the base

STEP 7: glue them randomly like so!
STEP 8: you will make another tulle Knot like you did in STEP 5

STEP 8: bunch it so you can put a drop of hot glue on the knot!

STEP 9: glue it to the whole flower. after everything was glued on i went around and trimmed all the tulle to make it shaped like a flower!

STEP 10: i cut out to pieces of felt. glued one to the bottom of the flower, attached my alligator clip & a pin! Then i glued the other peice of flet inbetween the clip and pin to secure it!

My model was sleeping so you get me!!

Subscribe to:
Posts (Atom)